A flaky, buttery pie crust is the foundation of a perfect pie. Whether you’re baking a classic apple pie, a rich chocolate tart, or a savory quiche, mastering the art of pie crust can take your baking skills to the next level. While it may seem intimidating, making a perfect pie crust is easier than you think—if you follow a few key techniques.
Here are the secrets to achieving a delicious, tender, and flaky pie crust every time.
1. Use Cold Ingredients
One of the biggest mistakes people make when making pie crust is using ingredients that are too warm. Cold ingredients help create those signature flaky layers.
- Butter or Shortening: Always use cold butter or shortening straight from the fridge. Some bakers even freeze their butter before cutting it into the flour.
- Water: Use ice-cold water to prevent the butter from melting too soon. Adding ice cubes to a cup of water and measuring from there ensures the liquid is as cold as possible.
2. Choose the Right Fat
The type of fat you use affects the texture and flavor of your pie crust. Here are three common options:
- Butter: Adds the best flavor and creates a crisp, flaky texture.
- Shortening: Produces an extra-tender crust and holds its shape well.
- Lard: A traditional choice that results in a very flaky crust, often used in old-fashioned recipes.
For the best of both worlds, many bakers use a combination of butter and shortening—this provides the flavor of butter and the tenderness of shortening.
3. Don’t Overwork the Dough
Overmixing or overhandling the dough can lead to a tough crust. Here’s how to avoid it:
- Cut the butter into the flour using a pastry cutter, two forks, or your fingertips until the mixture looks like coarse crumbs with some pea-sized pieces of butter.
- Add the water gradually, mixing just until the dough comes together. If you knead or mix too much, the gluten in the flour will develop, resulting in a dense and chewy crust.
4. Let the Dough Rest
After forming the dough into a disk, wrap it in plastic wrap and refrigerate for at least 30 minutes (or up to 24 hours). This step:
- Allows the gluten to relax, making the dough easier to roll out.
- Prevents shrinkage when baking.
- Helps the butter firm up again for flakier layers.
If you’re short on time, pop the dough in the freezer for 15 minutes instead.
5. Roll Out the Dough Properly
To roll out your dough without sticking or breaking:
- Lightly flour your work surface and rolling pin.
- Roll from the center outward, turning the dough a quarter turn after each roll to maintain an even thickness.
- Use gentle pressure—pressing too hard can cause cracks or overwork the dough.
- Roll the dough about 2 inches larger than your pie pan to allow for easy shaping.
6. Keep It Cold Before Baking
Once the dough is in the pie pan, chill it again for 15-20 minutes before baking. This helps prevent the crust from shrinking in the oven.
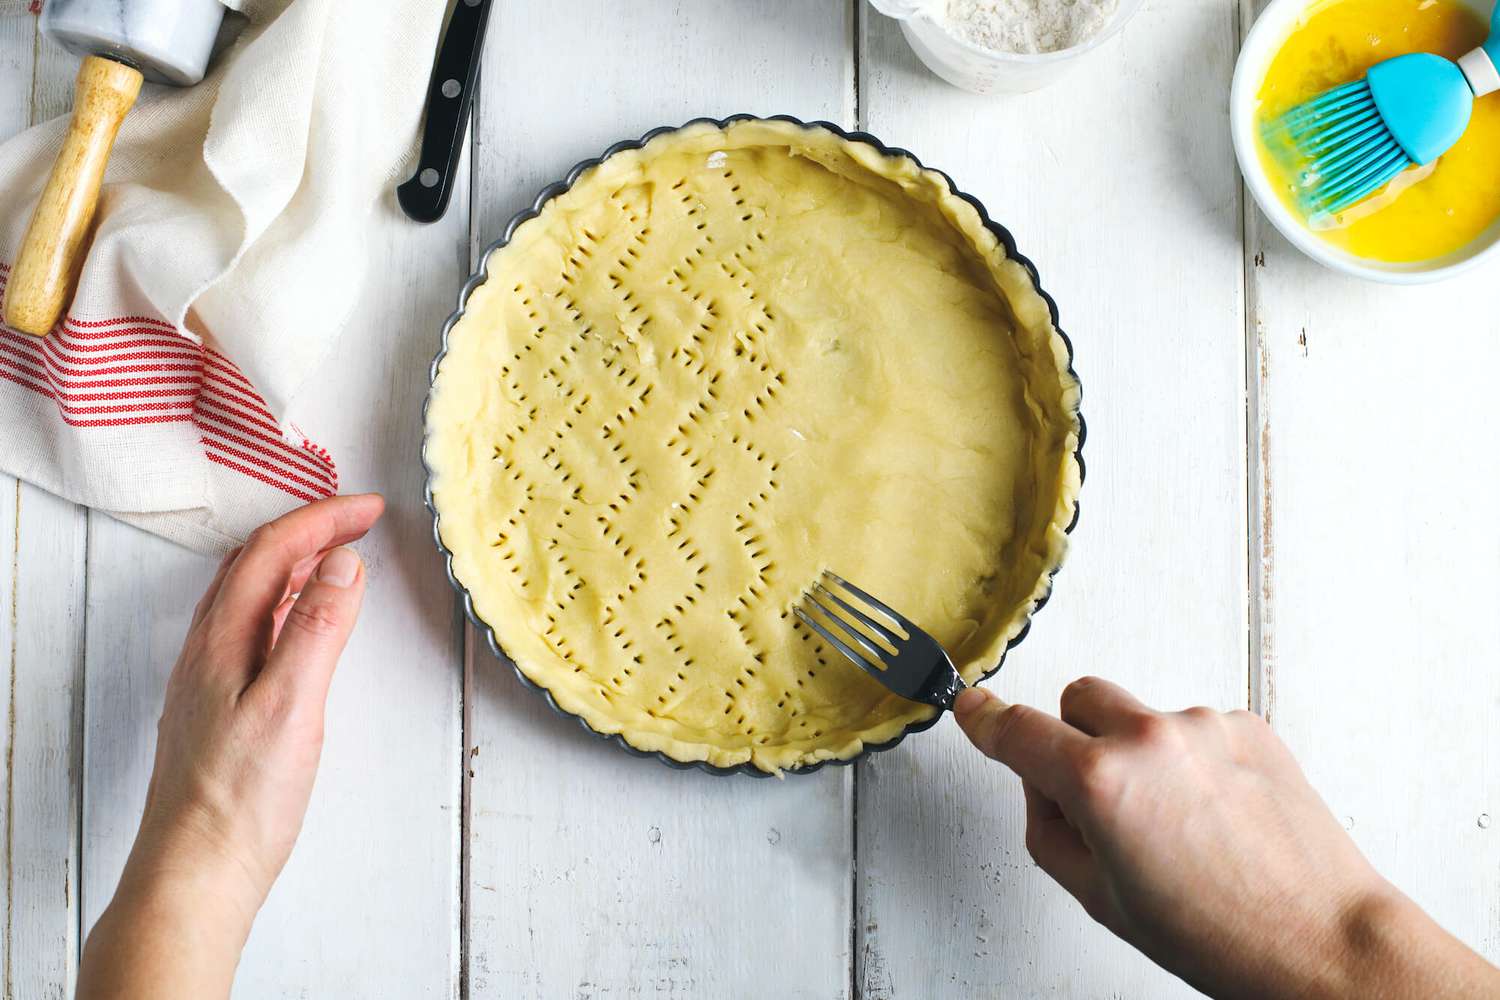
If you’re blind-baking (pre-baking the crust without filling), line it with parchment paper, fill it with pie weights or dried beans, and bake at 375°F (190°C) for 15 minutes before removing the weights and continuing to bake until golden.
7. Use an Egg Wash for a Golden Finish
For a beautifully golden and glossy crust, brush the top with an egg wash (a beaten egg mixed with a little water or milk) before baking.